We’re in the User acceptance test phase of our current project and now have users working in User acceptance test, Data migration, Training (and soon) Production environments.
One of the user personalisation options in Dynamics 365 for Operations is setting the colour theme for the environment – I’d prefer to have the option of setting a company colour (https://ideas.dynamics.com/ideas/dynamics-operations/ID0003297 ) but luckily in our current project we only have one company configured.
What we’re going to do here is set the user colour theme the same for all users, so that the users (and support staff) can readily identify which environment they are working in. Later on we might do this as a modification – for instance make this a menu option that a systems administrator could run, or write a script which we can run after we’ve copied data from one environment to another – but for now here’s a quick and simple way of doing this
1. Log into an environment (e.g. UAT) as a systems administrator and navigate to your Settings > User options:

The system displays:

2. Click Microsoft office > User information (unfiltered), and download and open the Excel spreadsheet:

You might need configure and or sign in to the Office Add-in. Configuring the office add-in is outside the scope of this blog (and a bit too technical for me).
3. Add the Theme column. Click Design:
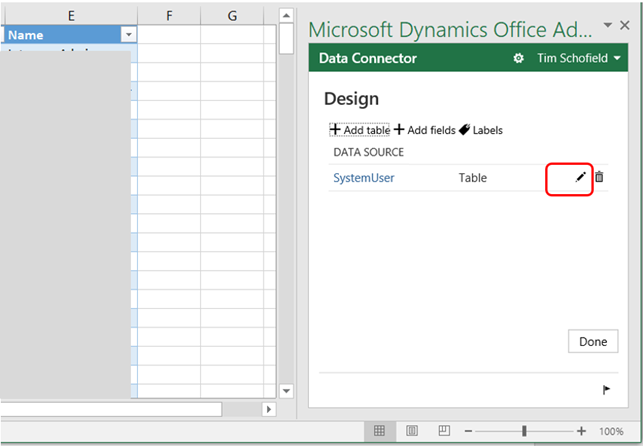
Click the Pen icon next to the SystemUser Table:
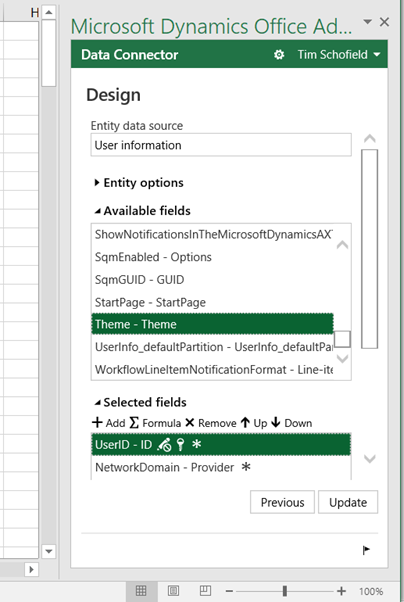
Add ‘Theme’ to the select fields (Double-click it, or Select it and click Add):

Click Update:

Yes:
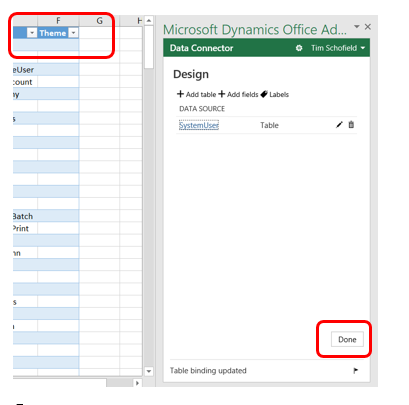
Done:

Refresh:

Click Yes, and note that the users’ existing Themes are now displayed.
4. Update the Theme and click Publish:

Check for success:

Close the spreadsheet.
If you wanted to make this process even simpler you could create a template at Common > Office integration > Excel workbook designer, but so far we haven’t felt the need to do this since the whole process as above only takes a minute or so.